MongoDB
Introduction
MongoDB is one of the most commonly used NoSQL database in the world and Neosync natively supports it.
This connector is still experimental and we are actively adding features to MongoDB to bring it up to the same feature parity as Postgres where relevant.
If you are interested in using MongoDB but don't see a feature that is required for you to use, please reach out to us on Discord.
Configuring MongoDB to run locally
Neosync's compose file has an option to stand up a local MongoDB instance. If you're using the compose.dev.yml file to stand up Neosync locally, uncomment the MongoDb line in order to stand up a MongoDB instance:
include:
  - path: ./compose/temporal/compose.yml
    env_file:
      - ./compose/temporal/.env
  - path: ./compose/compose-db.yml
  # - path: ./compose/compose-db-mysql.yml
  # - path: ./compose/compose-db-mongo.yml # uncomment this line to stand up an local instance of MongoDB
  # - path: ./compose/compose-db-dynamo.yml
  # - path: ./compose/compose-db-mssql.yml
Which should end up looking like this:
include:
  - path: ./compose/temporal/compose.yml
    env_file:
      - ./compose/temporal/.env
  - path: ./compose/compose-db.yml
  # - path: ./compose/compose-db-mysql.yml
  - path: ./compose/compose-db-mongo.yml
  # - path: ./compose/compose-db-dynamo.yml
  # - path: ./compose/compose-db-mssql.yml
Then run the compose file using docker compose -f compose.dev.yml watch to stand up all of the services and containers.
From here, you can use either the MongoDB Shell or the MongoDB GUI to connect to and start working with MongoDB. The MongoDB instance is stood up in unauth mode so to connect to your instance use this mongodb://localhost:27117/ connection string.
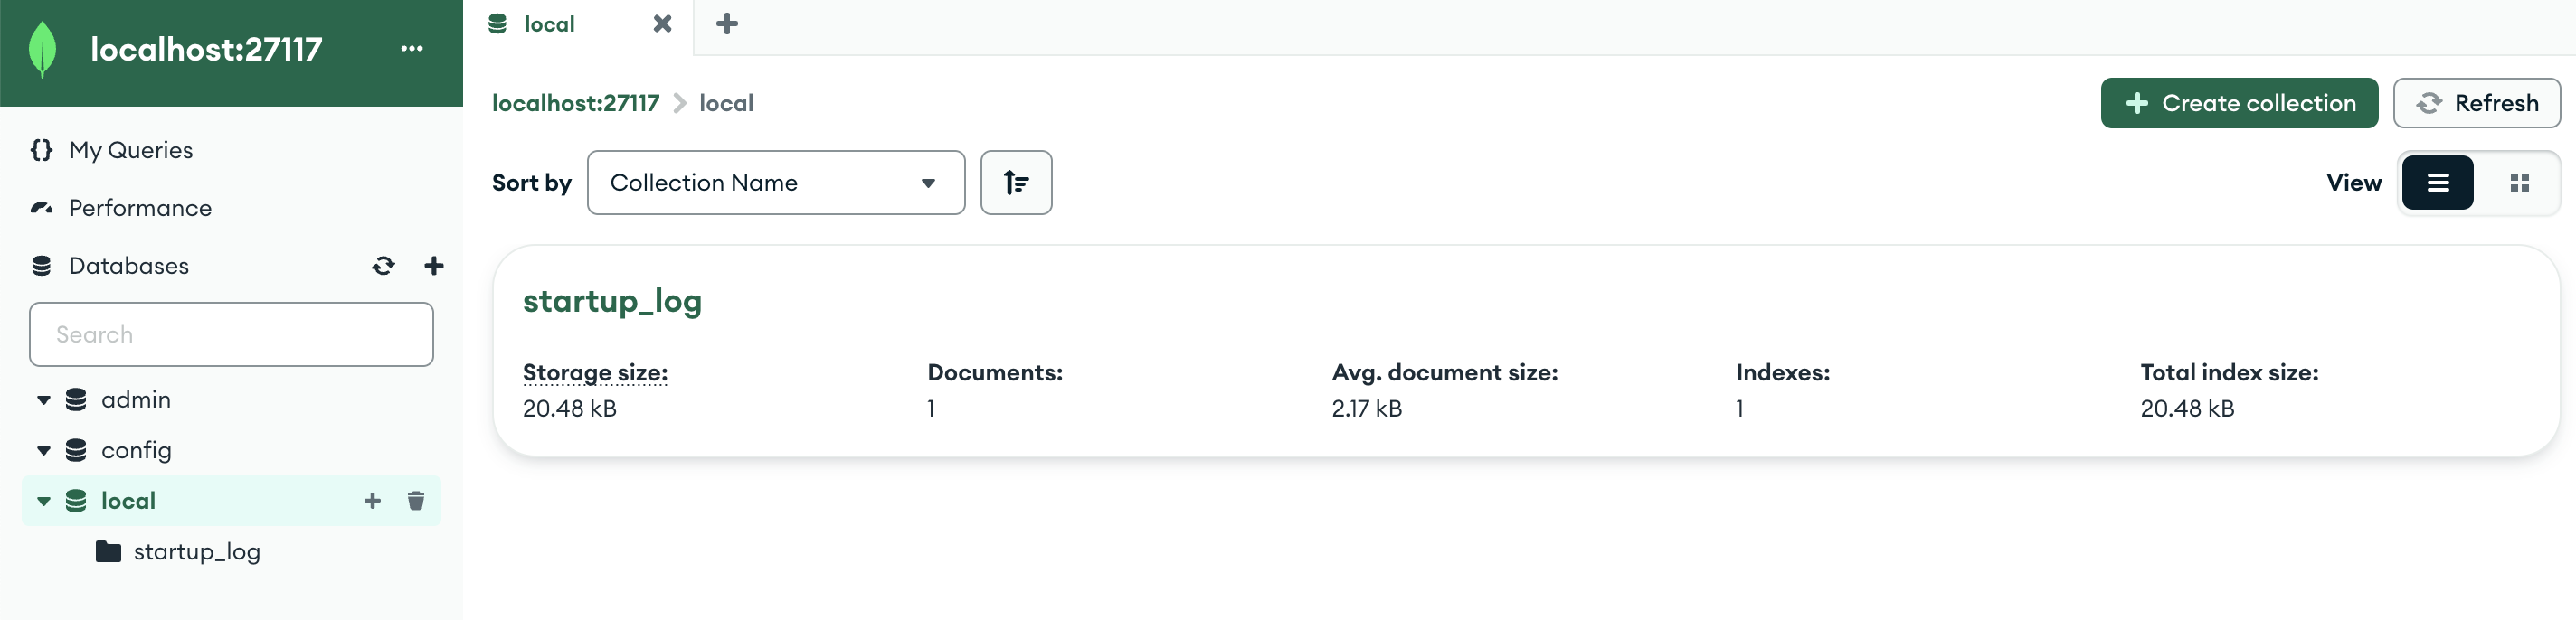
If you're using the MongoDB GUI, it will look something like this:
If you're connecting through the shell, it will look something like this:

Configuring MongoDB Connection
This guide will help you to configure your MongoDB database connection properly.
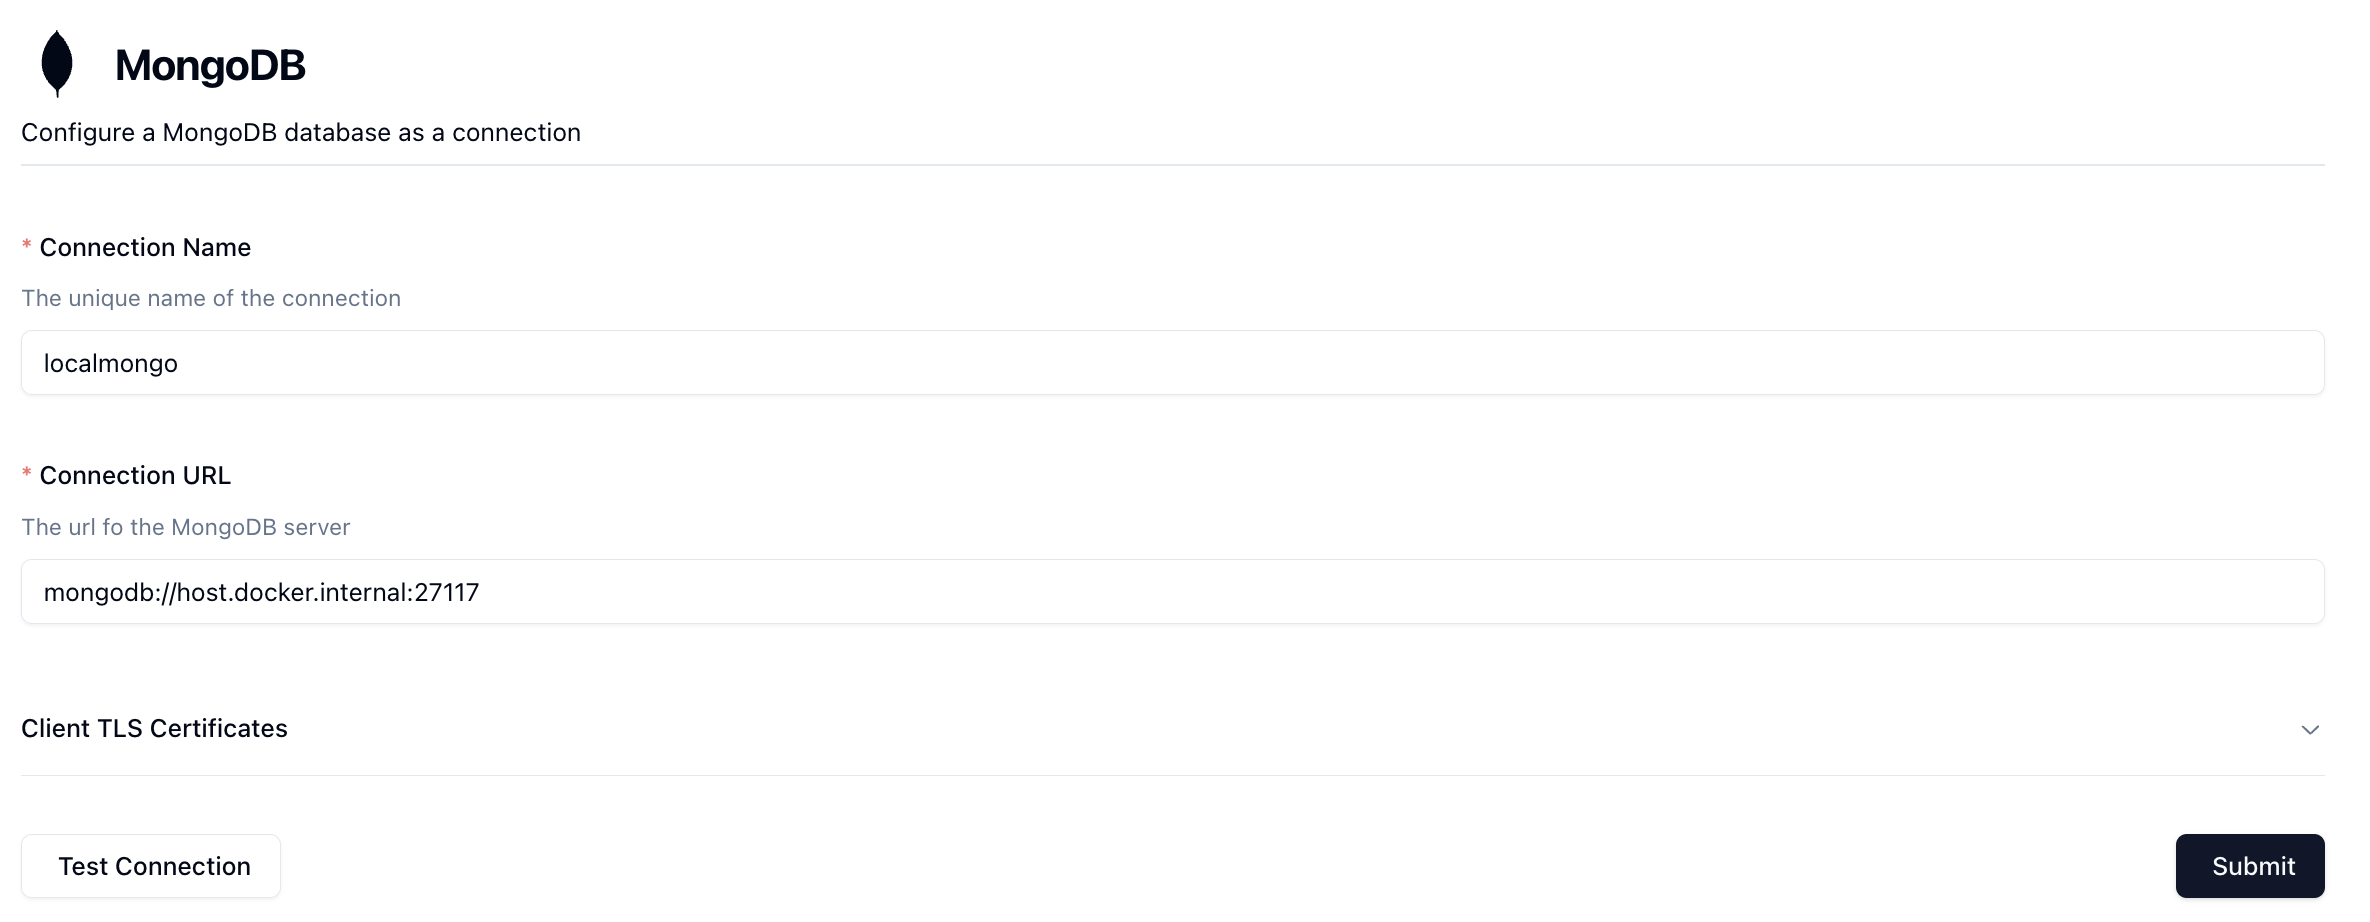
- Connection Name: Enter a unique name for this connection that you'll easily recognize. This is just a label and does not affect the connection itself.
- URL: Enter your database connection url that will be used to connect to Mongo. Neosync supports both
mongodbandmongodb+srvprotocols.
Connection URL
In the image above, I've connected to my local MongoDB instance using the mongodb://host.docker.internal:27117 connection string. For a hosted instance of MongoDB, you'll want to use the connection string provided to you by MongoDB.
TLS Authentication
Mongo allows connection via Client TLS in lieu of or in addition to a username and password.
Your setup will vary based on your specific settings, but generally, you can configure Neosync to connect to Mongo by providing a Client Certificate and Client Key in their respective fields in the Connection(s) form.
By doing so, Neosync will store them on disk and update the connection url to point to those files so that they can be used to connect.
The tls=true query parameter will also be added automatically if both of those fields are specified and the tls parameter has not been explicitly set in the connection url.
If using Mongo Atlas, the pem file will contain both the certificate and key. They must be split and put into their respective fields in the Connection form.
You may need to add a few query parameters to your URL in order to properly connect.
For example, using Mongo Atlas, you may need to provide the following parameters: authMechanism=MONGODB-X509&authSource=$external.
Read more about the Mongo TLS Options here.
Testing Connectivity
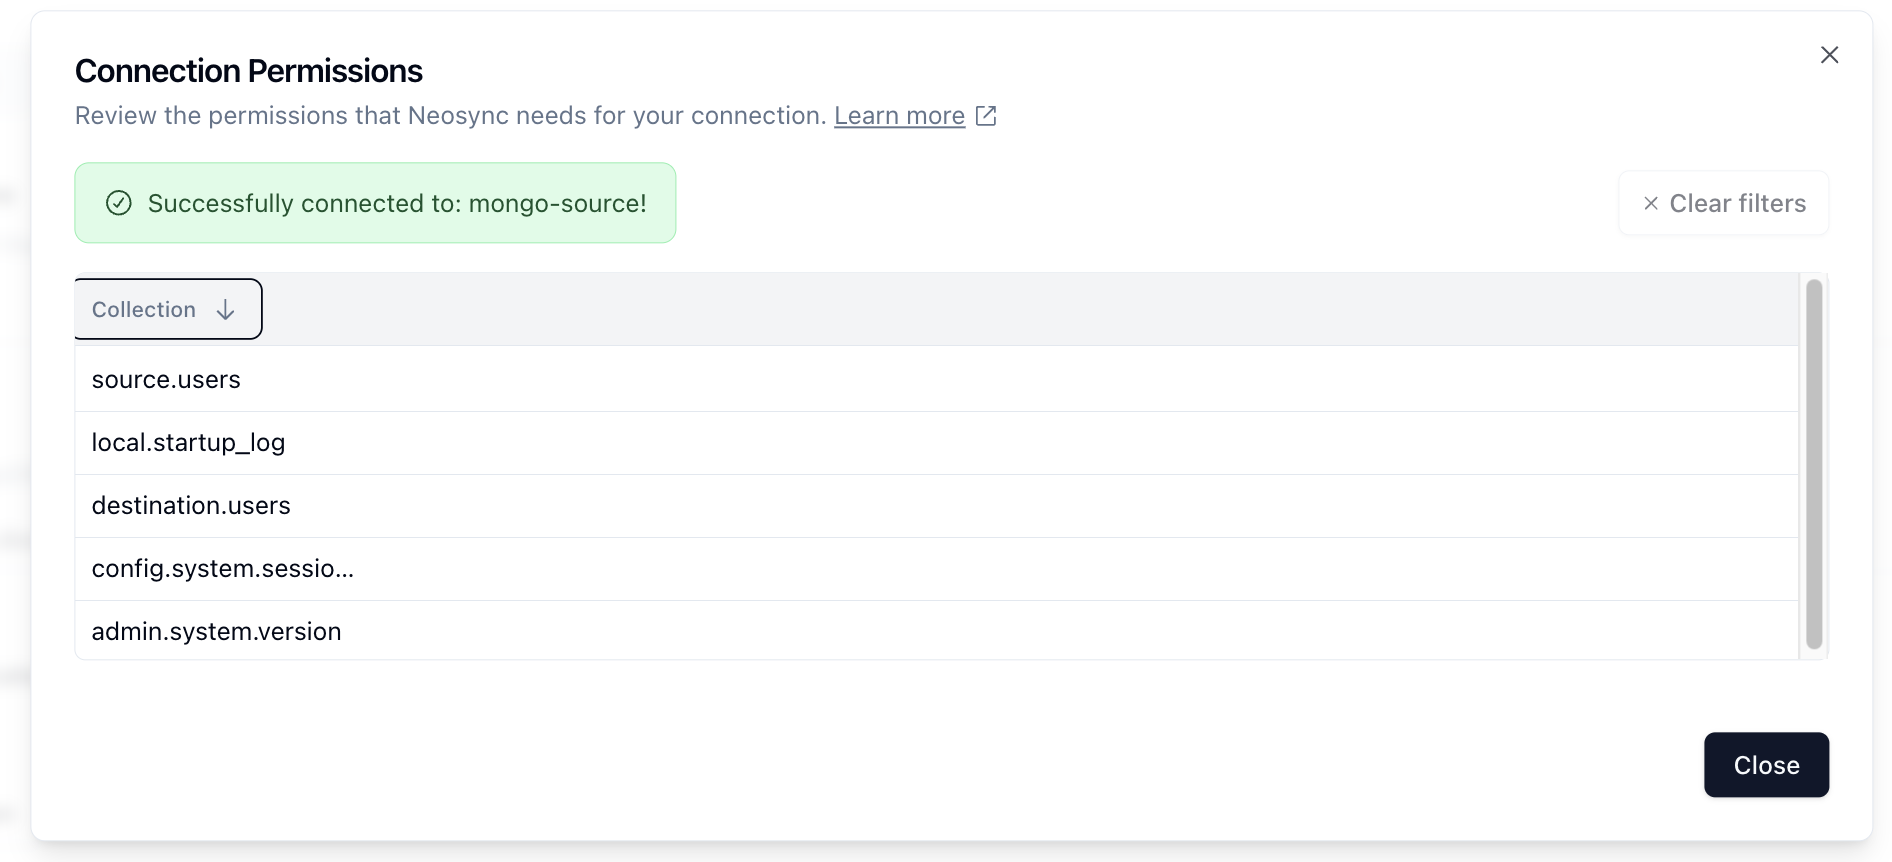
Once you've configured your Connection, you can test to make sure that it works by pressing the Test Connection button. If Neosync is able to connect to it, then you should see something like:
Permissions
Source Connections
When configuring your MongoDB user, please ensure that you grant it read permissions to relevant Database Collections that you want Neosync to have access to.
Destination Connections
When configuring your MongoDB user, please ensure that you grant it necessary write permission to the relevant Database and Collections that Neosync will need access to.