Creating a Sync Job
Introduction
In this guide we will walk through how to create a sync job. Sync jobs are used to sync data between a source and one or many destinations. Some usecases of sync jobs are:
- Syncing and anonymizing prod data to lower level environments
- Syncing data between two lower level environments with no transformations
- Syncing and anonymizing data to be used for analytical and machine learning use cases such as training a model
Creating a Sync Job
In order to create a sync job:
- On the Jobs page, click on the + New Job button.

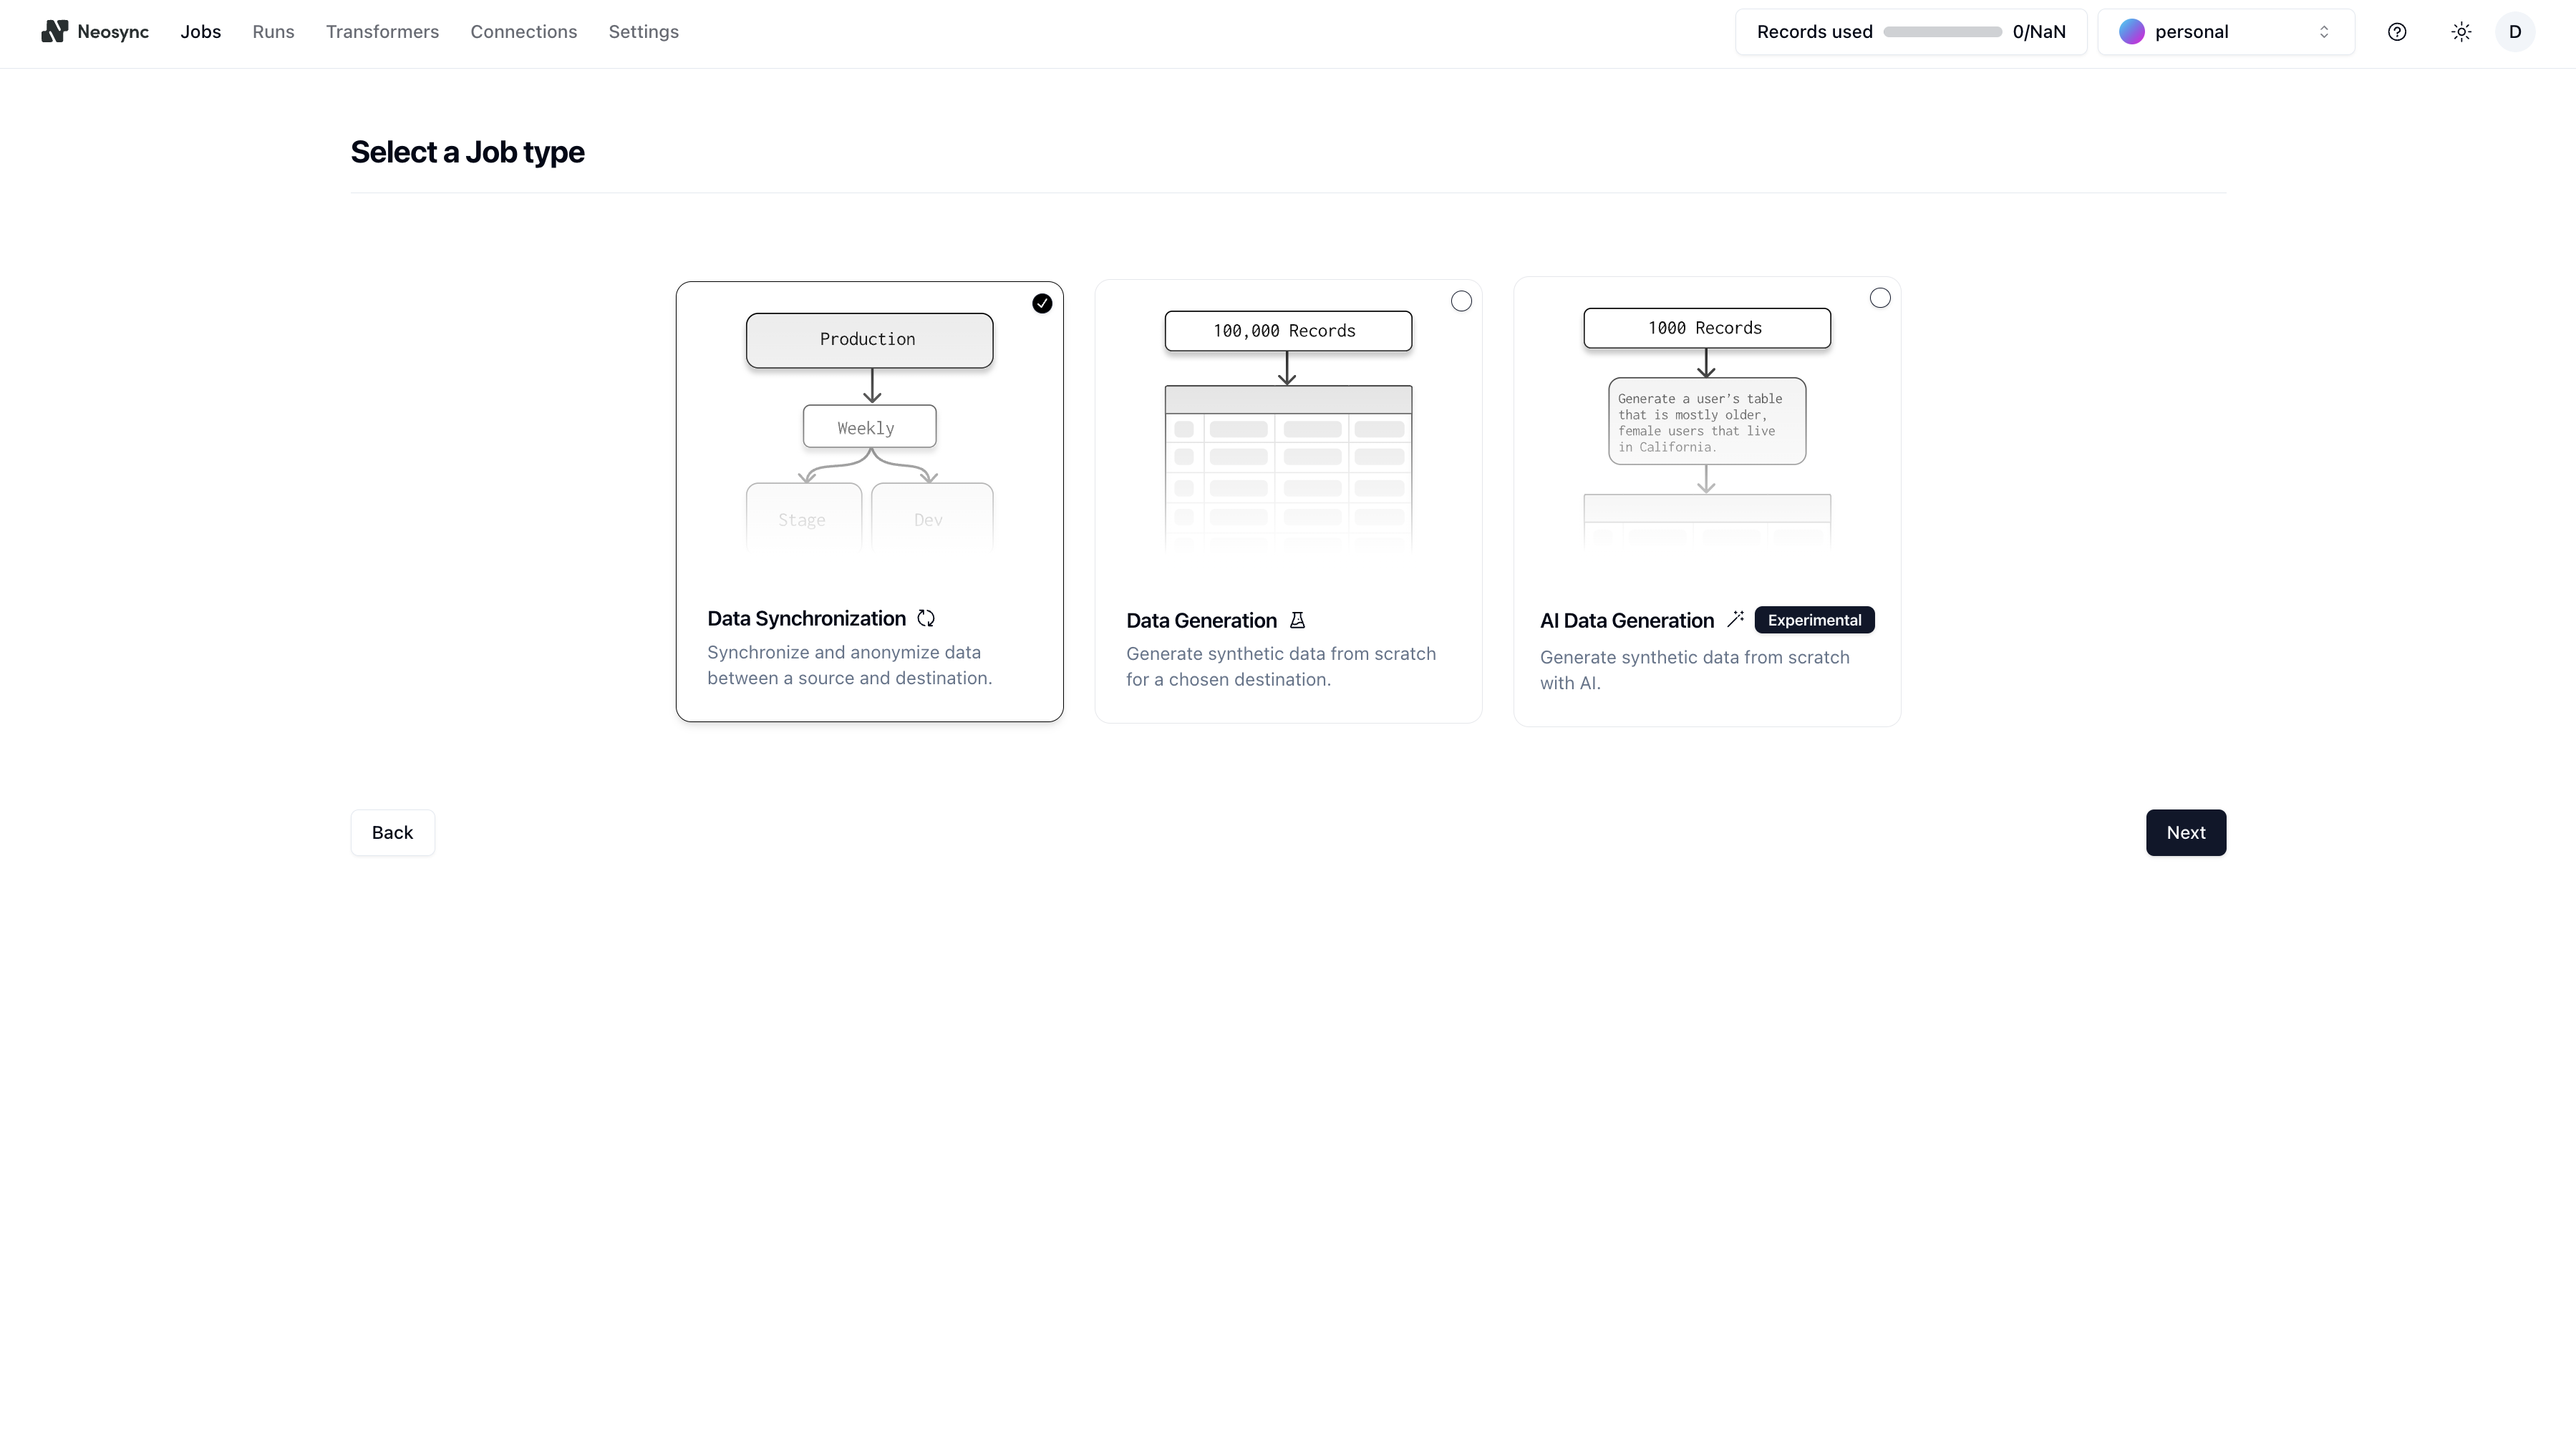
- Select the Data Synchronization job type.
- Then give your job a Name. Next, if you want your job to run on a schedule, click on the schedule switch to expose an input where you can provide a cron string. Your job will run on this schedule. Lastly, activate the Initiate Job Run switch if you want to immediately trigger a single job run once the job is completed. Click Next once you're ready.

- Select your source and destination(s) connections. You may only select one source but you can select multiple destinations. You may also configure your source and destination with the provided configuration options.

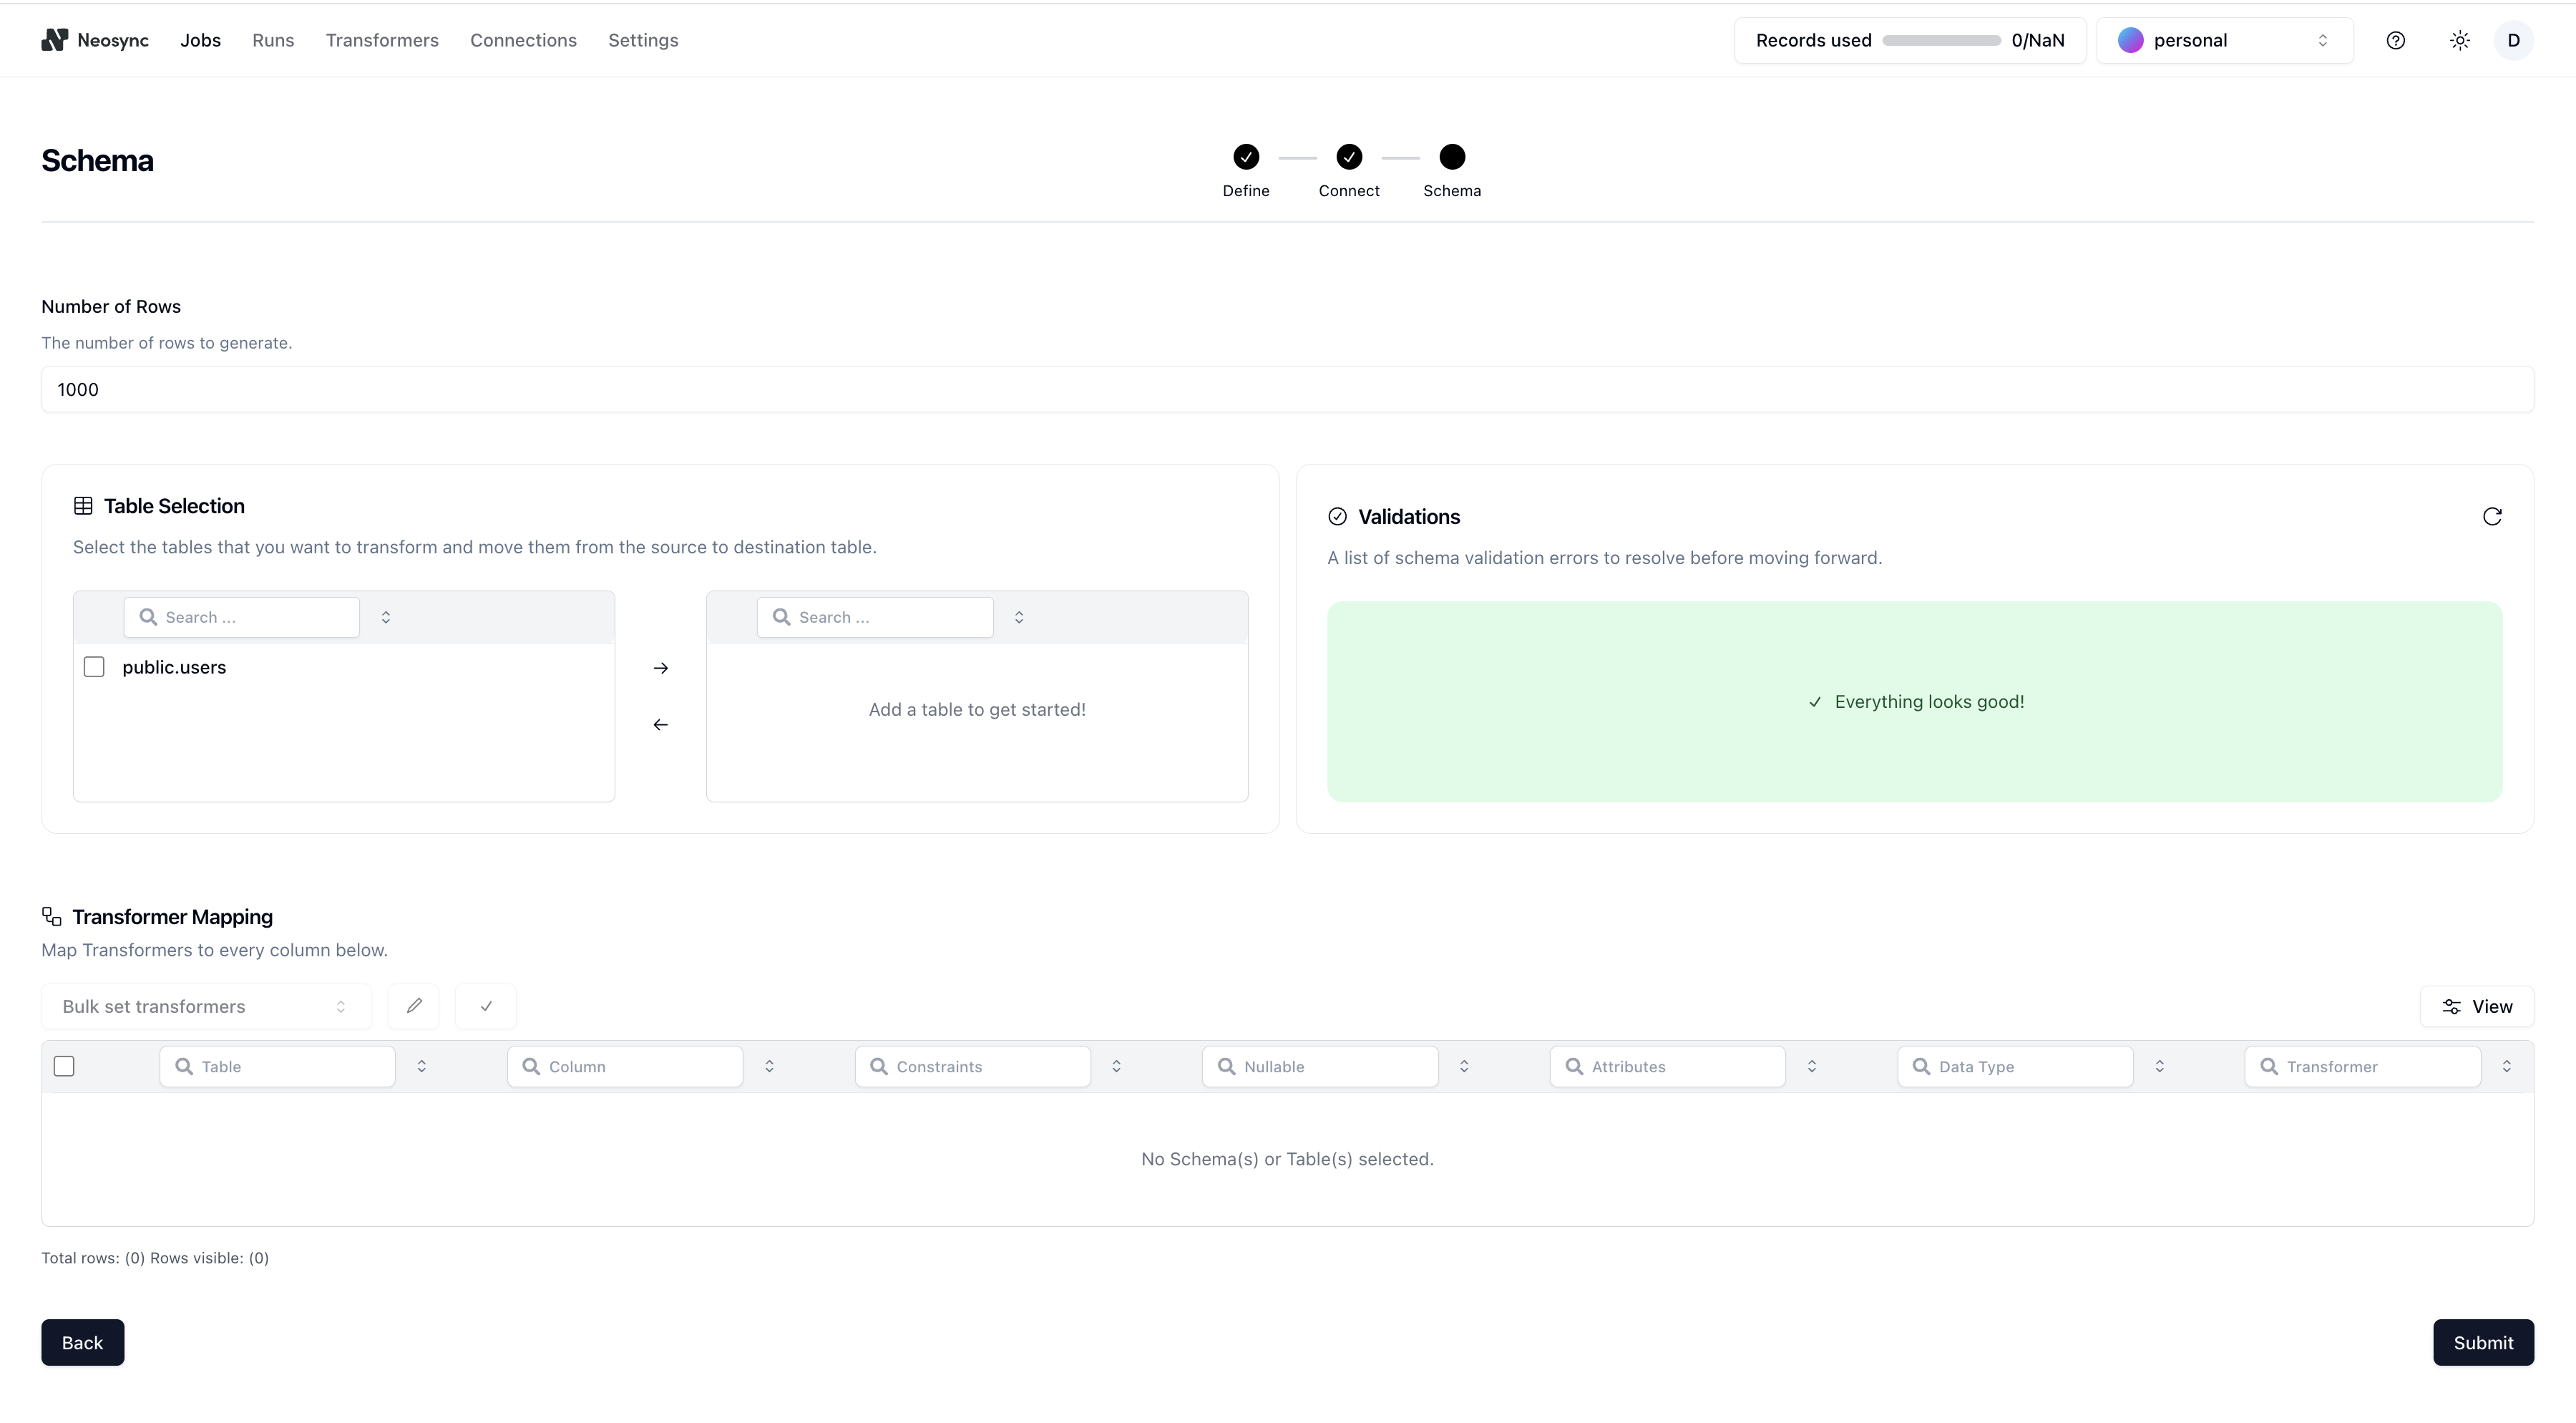
- Next is the Schema page. Here you can select how you want to transform your tables and columns with Transformers. There are a number of transformers that Neosync ships with out of the box or you can create your own custom transformer.
- Lastly, you can configure a subset. A subset is a way to filter the data that is being synced to the destination(s). A common use-case is to filter the data to reduce the size or dimensionality of the data. You can subset the data using WHERE filters by typing in the filter in the filter box. At the same time, you'll see your
WHEREfilter being constructed and you can click on the Validate button to validate that the subset query will successfully execute against the schema. Click Next once you're done.

- Congrats! You successfully created a job. From here, you will be taken to the Job Details page where you can pause, resume, run or update the job you created.